


TL;DR:
- Regular ATV maintenance at pre-ride, 50-hour, and annual intervals ensures engine reliability, rider safety, and drivetrain longevity. Proper preparation, including organizing essential tools and supplies, simplifies servicing and prevents costly issues caused by neglect. Consistent, interval-based checks and timely component replacements significantly extend ATV lifespan and reduce unexpected breakdowns.
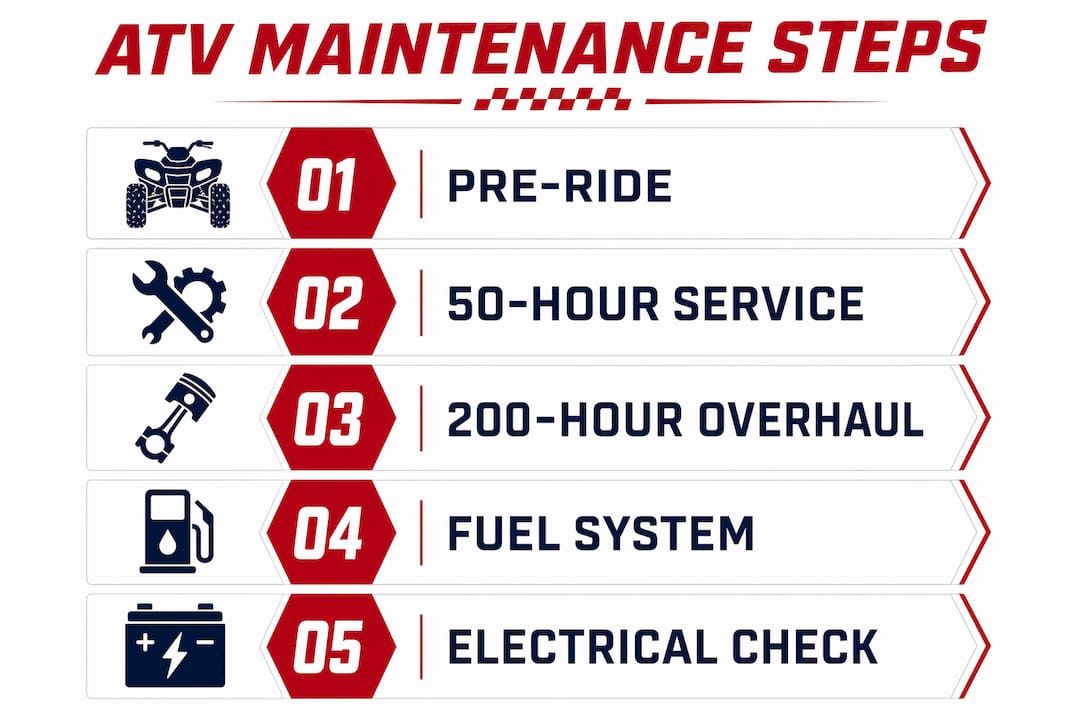
Step by step ATV maintenance is a systematic approach to preserving engine health, drivetrain reliability, and rider safety through structured checks performed at three distinct intervals: pre-ride, every 50 hours, and annually. Neglecting even one of these intervals compounds wear faster than most riders expect. The tools you need are straightforward: a torque wrench, an oil filter wrench, a tire pressure gauge, and a multimeter cover the majority of tasks in any solid ATV maintenance guide. Whether you ride a Yamaha Grizzly on rocky terrain or a Polaris Sportsman through muddy trails, the same core principles apply. This guide gives you every step, in order, with no guesswork.
What tools and supplies do you need for ATV maintenance?
Every reliable DIY ATV maintenance session starts with the right equipment on hand before you touch the machine. Showing up without a torque wrench and improvising with a standard socket set is one of the most common ways riders strip drain plugs or overtighten fasteners. Preparation is not optional. It is the difference between a 45-minute service and a two-hour frustration.
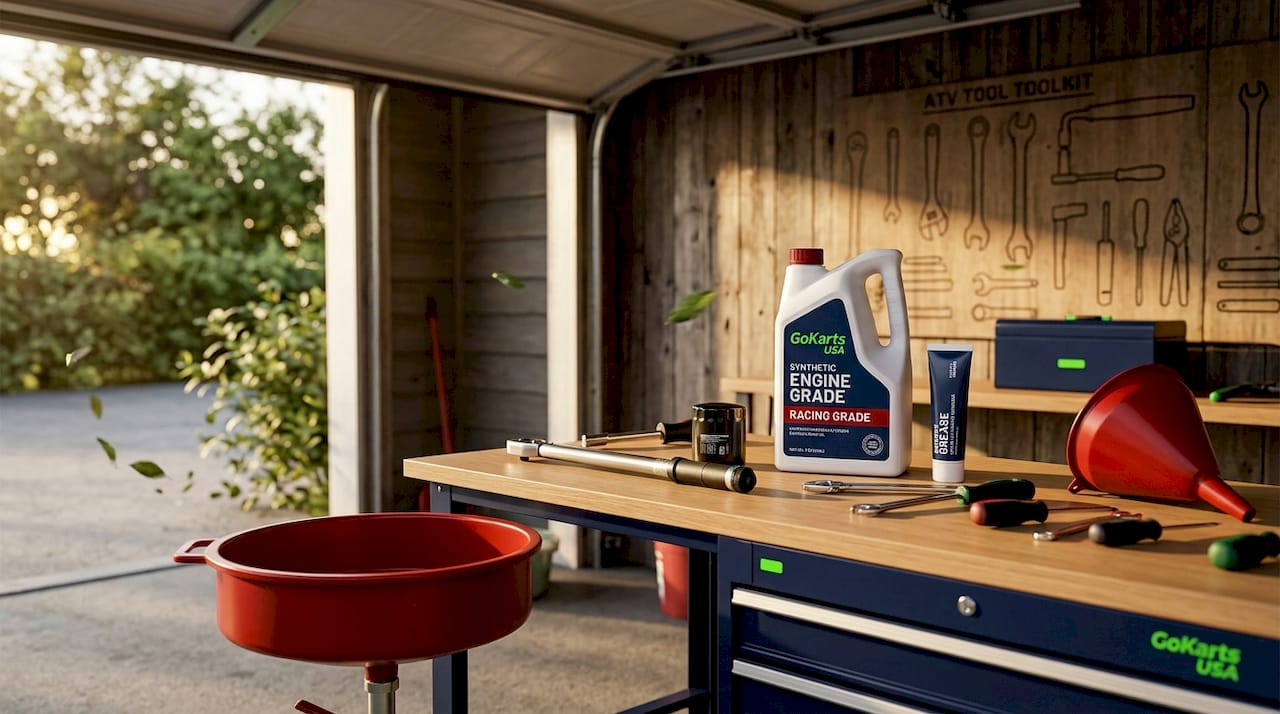
Here is what belongs in your dedicated ATV maintenance kit:
| Tool / Supply | Function | Recommended Spec or Brand |
|---|---|---|
| Torque wrench | Tightens fasteners to spec without damage | 3/8-inch drive, 10–80 ft-lbs range |
| Oil filter wrench | Removes stubborn oil filters cleanly | Band-style or cap-style to match filter size |
| Tire pressure gauge | Confirms correct PSI before every ride | Digital gauge, 0–60 PSI range |
| Multimeter | Tests battery voltage and electrical circuits | Fluke 107 or equivalent |
| Synthetic engine oil | Protects engine under high heat and load | Manufacturer-specified viscosity (e.g., 10W-40) |
| Foam or paper air filter | Prevents debris from scoring cylinder walls | OEM replacement or K&N equivalent |
| Grease gun with zerk fittings | Lubricates pivot points and bearings | Waterproof lithium-based grease |
| Coolant | Regulates engine temperature | Pre-mixed 50/50 ethylene glycol blend |
Core consumables, specifically synthetic engine oil, oil filters, air filters, grease, and coolant, should be stocked before each service session. Running out mid-job and leaving an engine partially drained is a real risk when you wing it.
Pro Tip: Organize all tools and consumables in a single labeled toolbox or rolling cart dedicated to your ATV. When everything lives in one place, you spend zero time hunting for the tire gauge and more time actually riding.
How to perform pre-ride checks before every ride
Pre-ride inspection is the five-minute habit that prevents the two-hour trailside breakdown. ATV maintenance structured into three cadence levels places pre-ride checks at the foundation, and for good reason. Catching a soft tire or a loose chain before you hit the trail costs you nothing. Catching it after a crash costs significantly more.
Work through this checklist before every single ride:
- Tire pressure and tread: Check PSI against your owner’s manual spec. Inspect tread depth and sidewalls for cuts or bulges. Underinflated tires reduce handling precision and increase the risk of a blowout on rocky terrain.
- Brakes: Squeeze both brake levers and press the foot brake. They should feel firm and engage before the lever or pedal bottoms out. Spongy brakes signal air in the line or worn pads.
- Throttle response: Roll the throttle open and release it. It should snap back immediately with no sticking. A sticky throttle on a trail is a serious safety hazard.
- Lights and killswitch: Confirm headlights, taillights, and the emergency killswitch all function. The killswitch is your last line of defense if throttle control fails.
- Chain or belt tension: On chain-drive ATVs, check slack against spec. On CVT belt models, listen for unusual slipping sounds during a brief idle. Excess slack causes chain slap and accelerated sprocket wear.
- Fluid leaks and coolant overflow: Crouch down and scan the ground beneath the ATV for oil, coolant, or brake fluid spots. Check the coolant overflow reservoir level against the MIN and MAX marks.
Pro Tip: Print a laminated pre-ride checklist and zip-tie it to your handlebars or store it in your gear bag. Riders who use a physical checklist catch issues 40% more consistently than those who rely on memory alone.
What does monthly ATV service actually involve?
Monthly service, or every 50 hours of ride time, is where you protect the engine and drivetrain from the wear that accumulates invisibly between rides. Heavy-duty use requires shortening these intervals to every 25 to 30 hours, particularly for air filter and oil changes. Follow this sequence for a complete 50-hour service:
- Warm the engine for five minutes, then shut it off. Warm oil flows out of the engine faster and carries more suspended contaminants with it than cold oil does.
- Drain the engine oil. Place a drain pan under the plug, remove the drain bolt, and let it drain fully. Torque the drain plug to 18 to 22 ft-lbs on reinstall. Never guess on torque.
- Replace the oil filter. Lightly lubricate the new filter’s O-ring with fresh oil before threading it on. Hand-tighten plus a three-quarter turn is the correct installation method.
- Fill with fresh synthetic oil to the correct volume per your owner’s manual. Check the sight glass or dipstick. Overfilling is as damaging as running low.
- Inspect the air filter. Foam filters require washing, drying completely, and re-oiling before reinstallation. Paper filters get tapped clean or replaced if torn. A compromised air filter lets abrasive particles score cylinder walls, which is an expensive repair.
- Check brake pad thickness. Visually inspect pads through the caliper window. Pads worn below 2mm need immediate replacement. Riding on metal-to-metal contact destroys rotors.
- Grease all zerk fittings. Use a grease gun on every zerk fitting: A-arm pivot points, tie rod ends, and steering shaft. Dry pivot points accelerate bushing wear and create handling slop.
- Test battery voltage. A resting battery should read 12.6 volts or higher. Clean any white or blue corrosion from terminals with a wire brush and baking soda solution.
- Check and adjust chain slack or inspect CVT belt condition. A worn CVT belt shows fraying, glazing, or cracking along the edges. Replace it before it snaps on the trail.
- Torque all accessible fasteners. Vibration loosens bolts over time. Run through skid plate bolts, handlebar clamps, and footpeg mounts with a torque wrench.
This sequence takes roughly 90 minutes for a rider comfortable with basic mechanical work. The first time takes longer. By the third service, you will move through it efficiently.
What does an annual ATV overhaul include?
Annual service, or every 200 hours of operation, goes deeper than monthly upkeep. This is where you address systems that degrade slowly and silently. Spring recommissioning follows the same logic: inspect the frame and body hardware, address all fluids, test the battery, and service the drive and suspension before the first ride of the season.
| Task | Quick Service (50 hrs) | Full Overhaul (200 hrs) |
|---|---|---|
| Engine oil and filter | Replace | Replace |
| Air filter | Clean or replace | Replace |
| Brake pads | Inspect | Inspect and replace if needed |
| Brake fluid | Check level | Flush and replace |
| Spark plugs | Inspect | Replace |
| Wheel bearings | Check for play | Repack with fresh grease |
| Differential fluid | Check level | Drain and replace |
| Coolant | Check level | Flush and refill |
| Suspension components | Visual check | Inspect and torque all bolts |
| Electrical system | Battery voltage test | Full system inspection |
Brake fluid replacement is one of the most skipped annual tasks, yet brake fluid absorbs moisture over time and lowers its boiling point. On a long descent, degraded fluid can cause brake fade at exactly the wrong moment. Spark plug replacement at 200 hours restores clean ignition and improves cold-start reliability. Repacking wheel bearings with fresh waterproof grease prevents the grinding noise that signals bearing failure. Coolant flushing removes acidic buildup that corrodes aluminum engine components from the inside out.
For the electrical system, use your multimeter to confirm charging voltage reads 13.5 to 14.5 volts with the engine running. Anything outside that range points to a failing stator or voltage regulator. Catching it during an annual check costs far less than a roadside repair.
How do you maintain your ATV’s fuel system for reliable performance?
Fuel system neglect is the leading cause of hard starts and poor throttle response in ATVs that have been sitting for more than a few weeks. Fuel filter maintenance prevents debris from entering the carburetor or fuel injector and maintains consistent fuel flow to the engine. This is not a complex system, but it requires attention at regular intervals.
Follow these fuel system care steps:
- Inspect the fuel filter every 50 hours. Hold it up to light and look for discoloration or visible debris. A clogged filter causes lean running, hesitation under load, and eventually a no-start condition.
- Replace the fuel filter annually regardless of appearance. Filters are inexpensive. Carburetor rebuilds are not.
- Inspect fuel lines for cracking or brittleness. Ethanol-blended fuels degrade rubber fuel lines faster than pure gasoline. Squeeze the lines along their length and replace any section that feels stiff or shows surface cracking.
- Check the fuel tank for sediment. If your ATV sat for a season without treatment, drain the tank and inspect the interior for varnish deposits or rust.
- Add fuel stabilizer for any storage period longer than 30 days. Fuel stabilization during storage prevents the gum and varnish buildup that clogs jets and passages. VP Racing Fuels and Sta-Bil are two widely trusted stabilizer brands.
Pro Tip: When storing your ATV, run the engine for five minutes after adding stabilizer so the treated fuel reaches the carburetor. Draining the float bowl without running stabilized fuel through the system leaves untreated fuel in the passages where it will varnish.
Ethanol content above 10% (E15 or higher) accelerates fuel system degradation in ATVs not designed for it. Check your owner’s manual for the maximum ethanol rating before fueling up. Using the wrong blend is a preventable cause of fuel system damage.
Key takeaways
Consistent, interval-based ATV maintenance is the single most effective way to prevent costly repairs and extend the life of your machine.
| Point | Details |
|---|---|
| Three-interval structure | Organize care into pre-ride, 50-hour, and 200-hour tasks for complete coverage. |
| Workload-sensitive intervals | Shorten oil and air filter service to 25 to 30 hours under heavy or dusty riding conditions. |
| Fuel system care | Replace fuel filters annually and use stabilizer for any storage period over 30 days. |
| Annual overhaul priorities | Flush brake fluid, replace spark plugs, repack wheel bearings, and test the charging system. |
| Tool preparation | A dedicated maintenance kit with a torque wrench, multimeter, and correct consumables prevents mid-job delays. |
Why I think most riders underestimate the 50-hour service
I have seen more ATVs limp into the shop with avoidable damage than I can count, and the pattern is almost always the same. The rider knew the service was due. They just pushed it another few rides. The 50-hour interval is not arbitrary. It reflects how quickly engine oil degrades under the heat and load cycles of real trail riding.
What surprises most people is that storage-related failures are rarely caused by internal engine problems. They come from neglected basics: a discharged battery, stale fuel in the carburetor, and dry pivot points. These are five-minute fixes that become two-hour problems when ignored for a season.
The maintenance step I see skipped most often is greasing the zerk fittings. It takes less than ten minutes with a grease gun, and it directly determines how long your A-arm bushings and tie rod ends last. Riders who skip it consistently report handling degradation within two seasons. Those who do it every 50 hours rarely notice any steering slop at all.
My honest recommendation: track your hours on a sticky note taped to the handlebars if you do not have a digital hour meter. The ATV maintenance schedule only works if you actually know where you are in the cycle. Guessing leads to either over-servicing or, far more commonly, under-servicing. Both cost you money.
— Mario
Ready to ride? Gokartsusa has you covered
At Gokartsusa, we know that the thrill of the trail starts long before you hit the throttle. It starts with a machine you can trust and the knowledge to keep it running strong. Whether you are gearing up for your first season or adding to your fleet, our Mini Sport Kids ATV with a 110cc gas engine and parental remote start is built for reliability and peace of mind. For riders ready to go deeper on setup and care, our ATV assembly guide walks you through every step from unboxing to first ride. Adventure is waiting. We are here to make sure you are ready for it.
FAQ
How often should you change ATV engine oil?
Change engine oil and the oil filter every 50 hours of ride time for recreational use. Under heavy load or dusty conditions, shorten that interval to every 25 to 30 hours.
What is the correct battery voltage for a healthy ATV?
A resting ATV battery should read 12.6 volts or higher. With the engine running, the charging system should produce 13.5 to 14.5 volts. Readings outside that range indicate a charging system problem.
When should you add fuel stabilizer to an ATV?
Add fuel stabilizer any time the ATV will sit unused for more than 30 days. Run the engine for five minutes after adding it so the treated fuel reaches the carburetor and fuel passages.
How do you know when ATV brake pads need replacing?
Inspect brake pads visually through the caliper window. Replace them when thickness drops below 2mm. Riding on pads thinner than that risks metal-to-metal contact and rotor damage.
Does ATV maintenance frequency change based on riding conditions?
Yes. Recreational riders on mild terrain can follow the standard 50-hour schedule. Riders in dusty, muddy, or high-load environments should service air filters and engine oil every 25 to 30 hours to protect the engine from accelerated wear.