


Setting up a mini bike correctly determines whether your first ride ends in confidence or confusion. Parents assembling bikes for kids and hobbyists tuning performance models face the same challenge: understanding which steps matter most for safety and enjoyment. Skipping critical checks or rushing assembly creates unnecessary risks, while following a systematic approach ensures every component works together reliably. This guide walks you through preparation, assembly, tuning, and final safety verification, giving you the knowledge to set up any 2026 mini bike model with confidence and precision.
Table of Contents
- What You Need Before Starting Your Mini Bike Setup
- Step-by-Step Assembly And Initial Setup Of Your Mini Bike
- Tuning And Optimizing Your Mini Bike For Performance And Safety
- Final Safety Checks And Beginner Riding Tips
- What Size Mini Bike Engine Is Best For Beginners?
- How Often Should I Check Tire Pressure And Brakes On A Mini Bike?
- Can I Upgrade My Mini Bike Engine To Go Faster Safely?
Key takeaways
| Point | Details |
|---|---|
| Engine selection impacts rider experience | Smaller 50cc engines suit beginners while 200cc models offer advanced performance for experienced riders |
| Tire pressure and brake checks prevent accidents | Regular inspection of these critical safety systems reduces mechanical failures and improves control |
| Systematic assembly ensures reliability | Following stepwise setup from frame to engine prevents common mistakes that compromise safety |
| Performance tuning requires safety upgrades first | Upgrading brakes and traction before increasing engine power creates balanced, controllable performance |
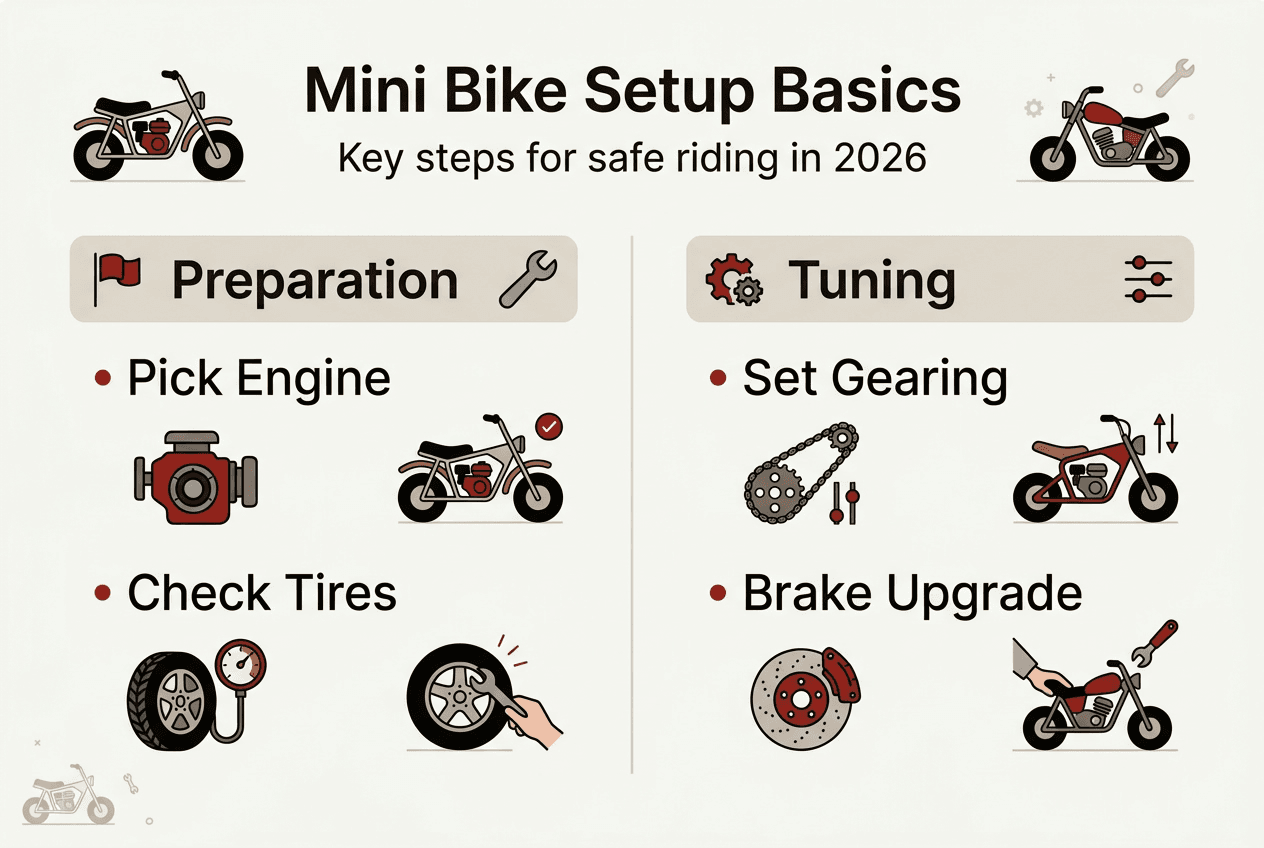
What you need before starting your mini bike setup
Gathering the right tools and understanding your mini bike’s specifications saves time and prevents assembly errors. You need basic hand tools including metric wrenches (8mm to 19mm), a torque wrench for critical fasteners, tire pressure gauge, chain lubricant, and threadlocker compound. Having these items ready before you start keeps the process smooth and organized.
Mini bike engines typically range from 50cc to 200cc, impacting speed and power significantly. A 50cc engine delivers manageable speeds around 25 mph, perfect for younger riders or complete beginners learning throttle control. Mid-range 110cc to 125cc engines provide more power for teens and adults who want recreational fun without extreme speeds. The 200cc models reach 50+ mph when properly tuned, suitable only for experienced riders who understand advanced handling techniques.
Proper tire inflation is crucial for safety and performance across all engine sizes. Most mini bikes require 15 to 25 PSI depending on tire size and rider weight. Under-inflated tires reduce handling precision and increase puncture risk, while over-inflation creates a harsh ride and decreases traction. Check your owner’s manual for exact specifications, as different models have varying requirements based on intended use.
Brake systems vary between models, with drum brakes on entry-level bikes and disc brakes on performance models. Drum brakes require regular adjustment and cable tension checks, while disc systems need periodic pad inspection and rotor alignment. Understanding which system your bike uses helps you prepare the right maintenance tools.
| Component | Tool Required | Specification | | — | — | | Frame bolts | 13mm and 17mm wrench | 25-30 ft-lbs torque | | Chain tension | Chain tool | 1/2 inch vertical play | | Tire pressure | Pressure gauge | 15-25 PSI | | Brake cable | Cable adjuster | 1/8 inch lever play |
Pro Tip: Order replacement parts like spare chains, brake cables, and air filters before starting your build. Having backup components on hand prevents project delays when you discover worn or damaged parts during assembly. Our beginner guide to mini bikes covers additional preparation strategies for first-time builders.
Step-by-step assembly and initial setup of your mini bike
Begin assembly by securing the frame components on a stable work surface with adequate lighting. Lay out all parts and verify against the parts list to catch any missing items before you start. This organized approach prevents mid-assembly surprises that disrupt your workflow.
-
Attach the front fork assembly to the frame using the provided bolts, ensuring the steering head bearings sit flush without binding. Tighten the top triple clamp bolts to specification, typically 25 ft-lbs, then check that the fork rotates smoothly through the full range of motion.
-
Install the rear wheel assembly, aligning the axle through the swing arm bushings. Torque the axle nut to 30 ft-lbs and verify the wheel spins freely without rubbing the frame or brake components.
-
Route the chain around the rear sprocket and front drive sprocket, connecting the master link with the closed end facing the direction of rotation. Adjust chain tension to allow 1/2 inch vertical movement at the midpoint between sprockets. Too tight causes premature wear, while too loose risks the chain jumping off during operation.
-
Mount the engine to the frame using all provided bolts and lock washers. Start all bolts finger tight, then torque them in a star pattern to ensure even clamping force. Missing even one bolt creates vibration that can crack the engine mount over time.
-
Connect the throttle cable to the carburetor, adjusting cable slack so the throttle grip has 1/8 inch free play before the carburetor opens. This prevents the engine from revving unexpectedly and gives you precise control.
-
Install brake components according to your system type. For drum brakes, adjust the cable tension until you feel firm resistance halfway through the lever pull. Disc brake systems require caliper alignment over the rotor with even pad spacing on both sides.
-
Fill the fuel tank with fresh gasoline mixed with the correct oil ratio if using a two-stroke engine. Four-stroke engines use straight gasoline but require separate engine oil in the crankcase. Check the dipstick to verify proper oil level before attempting to start.
Regularly inspect the mini bike for loose bolts, leaks, and proper chain tension to prevent mechanical failures. Walk around the bike and hand-check every fastener you installed, looking for any that feel loose or show gaps. This final assembly verification catches installation errors before they become safety hazards.
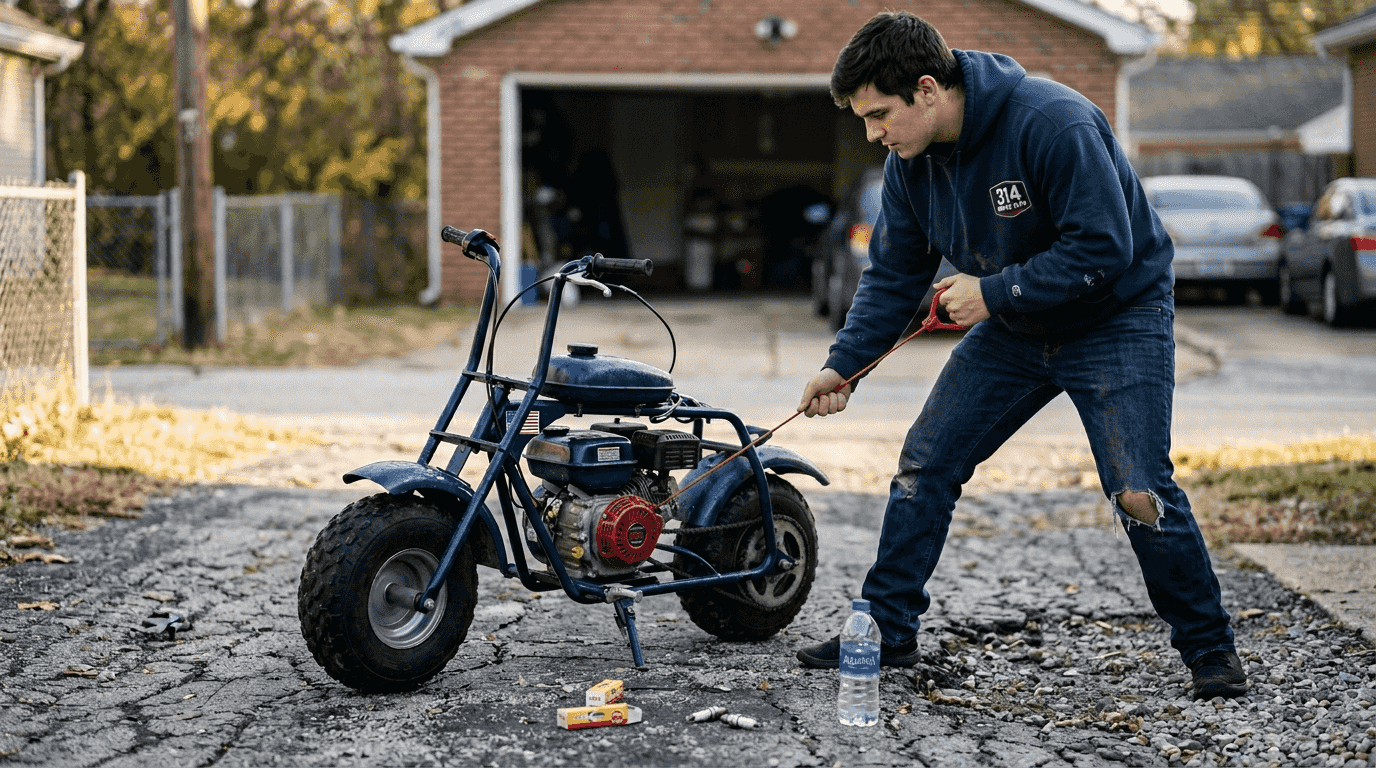
Test the engine by pulling the starter cord slowly until you feel compression, then give a firm, quick pull. The engine should fire within three pulls if the carburetor and ignition are properly connected. Let it idle for five minutes, listening for unusual noises and watching for fuel or oil leaks. Our mini bike maintenance steps guide covers ongoing inspection routines that keep your bike running reliably.
Pro Tip: Apply threadlocker compound to all critical frame and engine bolts during assembly. Vibration loosens fasteners over time, and a dropped bolt can cause catastrophic failure. Blue threadlocker allows future disassembly while preventing unwanted loosening during operation.
Tuning and optimizing your mini bike for performance and safety
Performance tuning transforms a stock mini bike into a machine tailored to your riding style, but modifications must follow a logical sequence that prioritizes control over raw power. Start by understanding your current setup before making any changes.
Stock engines with governors limit RPM to around 3,600, capping speed at 25 to 30 mph for safety. Degoverned or modified engines can rev past 5,000 RPM, supporting higher speeds with proper tuning. Removing the governor involves disassembling the engine and removing internal linkage, a task requiring mechanical knowledge and precision. Beginners should ride stock setups extensively before considering this modification.
Drivetrain configuration dramatically affects acceleration and top speed characteristics. Centrifugal clutches engage automatically at specific RPM, providing smooth power delivery ideal for beginners. Torque converters offer variable gearing that adjusts to load and speed, delivering better acceleration from stops and improved hill climbing. Swapping between these systems requires different mounting hardware and chain alignment, making it a moderate complexity upgrade.
Gearing changes provide the simplest performance adjustment without engine modifications. Installing a larger rear sprocket increases acceleration but reduces top speed, perfect for tight tracks or hilly terrain. A smaller rear sprocket does the opposite, maximizing speed on flat, open areas. Calculate your gear ratio by dividing rear sprocket teeth by front sprocket teeth. A ratio above 6:1 favors acceleration, while below 5:1 favors speed.
| Setup Type | RPM Limit | Top Speed | Best For |
|---|---|---|---|
| Stock governed | 3,600 RPM | 25-30 mph | Beginners and young riders |
| Modified ungoverned | 5,000+ RPM | 50+ mph | Experienced riders with upgraded brakes |
| Torque converter | Variable | 35-45 mph | Mixed terrain and hill climbing |
Braking system upgrades must precede any power increases to maintain safe stopping distances. Disc brakes provide more consistent and effective braking compared to drum systems, especially in wet conditions or during repeated hard stops. Converting from drum to disc requires a new wheel hub, caliper mount, and hydraulic or cable actuated caliper. The investment pays off in confidence and control when you need to stop quickly.
Tire selection affects traction more than most riders realize. Knobby off-road tires grip loose dirt and gravel but feel vague on pavement. Street tires provide precise handling on hard surfaces but slide dangerously on dirt. Match your tire choice to where you ride most frequently, and consider keeping two sets of wheels if you frequently switch between terrain types.
Pro Tip: Focus on maximizing traction and braking before adding engine power. A stock 200cc engine already produces more power than most riders can effectively use on a mini bike platform. Upgrading suspension, tires, and brakes creates a balanced machine that handles predictably at any speed. Check our tips for starting a new engine when installing performance modifications that affect carburetion.
Final safety checks and beginner riding tips
Completing your setup means nothing if you skip the final verification steps that confirm everything works correctly under real conditions. Run through this checklist before every ride, not just after initial assembly.
Inspect all frame bolts and engine mounts by hand, feeling for any looseness that indicates inadequate torque. Pay special attention to the handlebar clamp bolts, as loose bars create dangerous steering unpredictability. Check tire pressure with a gauge rather than visual inspection, as even significantly under-inflated tires can look normal. Squeeze both brake levers to verify firm resistance and watch the wheels to confirm the brakes engage fully.
Test throttle operation by twisting the grip through its full range while the engine is off, ensuring it snaps back to closed position instantly when released. A sticky throttle cable can cause runaway acceleration that surprises inexperienced riders. Look underneath for any fluid leaks from the fuel tank, fuel lines, or engine, as gasoline drips create fire hazards.
Beginners should start in a safe, open area to practice balance and throttle control before riding in more complex environments. An empty parking lot or flat field gives you space to learn how your bike responds without obstacles or traffic. Spend your first session simply getting comfortable with starting, stopping, and gentle turns at low speed.
Throttle control separates smooth riders from jerky ones. Apply throttle gradually, especially from a stop, allowing the clutch or torque converter to engage smoothly. Sudden throttle inputs upset the bike’s balance and can break traction unexpectedly. Practice rolling on and off the throttle in small increments until the motion becomes natural.
Avoid sudden braking, which can cause loss of control. Use both front and rear brakes smoothly to stop. Apply the rear brake slightly before the front to settle the bike’s weight, then progressively squeeze the front brake for maximum stopping power. Grabbing only the front brake can pitch you over the handlebars, while relying solely on the rear brake extends stopping distances dangerously.
Protective gear matters more than most beginners realize. A properly fitted helmet prevents serious head injuries in even minor falls. Gloves protect your hands from blisters and abrasions, while long sleeves and pants shield your skin from scrapes. Boots with ankle support prevent twisted ankles and provide better grip on the foot pegs than sneakers.
Progressive practice builds skills safely. Master basic control at walking speed before attempting higher speeds or challenging terrain. Each session should introduce one new skill rather than trying to learn everything at once. Patience during the learning phase creates confident, capable riders who enjoy the sport for years.
Common beginner mistakes to avoid:
- Looking down at the front wheel instead of ahead where you want to go
- Gripping the handlebars too tightly, which causes arm fatigue and jerky steering
- Riding beyond your skill level to impress others or keep up with experienced riders
- Neglecting pre-ride safety checks because the bike worked fine yesterday
- Attempting jumps or stunts before mastering basic control and braking
Supervision matters critically when kids ride mini bikes. An adult should actively watch and provide guidance, not just be present nearby. Set clear boundaries about where riding is permitted and establish rules about speed limits and prohibited maneuvers. Our mini bikes safer riding overview provides additional guidance for parents introducing children to powersports.
Explore quality mini bikes and parts at GoKarts USA®
Now that you understand proper setup and safety procedures, finding the right mini bike or upgrade parts becomes your next step. GoKarts USA® offers carefully selected models that balance performance, safety, and value for riders at every skill level.
Our Mini Sport Kids ATV 110 gas engine provides young riders with a confidence-building platform featuring automatic transmission and reliable performance. For enthusiasts ready for serious performance, the TrailMaster Storm Minibike 200cc with disc brake delivers the power and control experienced riders demand. When you need replacement components or upgrade parts, our mini bike replacement parts section stocks quality items that keep your bike running strong. Every product comes with detailed specifications and customer support to help you make informed decisions for your specific needs.
What size mini bike engine is best for beginners?
A 50cc to 110cc engine provides the ideal starting point for new riders learning throttle control and basic handling skills. These smaller engines produce manageable power that builds confidence without overwhelming inexperienced riders. As skills develop over several months of regular practice, riders can graduate to 125cc or larger engines that offer more performance. Our beginner mini bike guide explains how to match engine size to rider age and experience level.
How often should I check tire pressure and brakes on a mini bike?
Tire pressure should be checked before each ride to ensure optimal handling and safety. Temperature changes and small leaks cause pressure to drop gradually, and riding on under-inflated tires increases the risk of pinch flats and poor handling. Brake components need weekly inspection if you ride frequently, checking for cable fraying, pad wear, and proper adjustment. Monthly deep inspections should include removing wheels to examine brake surfaces and hardware. Regular maintenance through our mini bike maintenance steps prevents small issues from becoming dangerous failures.
Can I upgrade my mini bike engine to go faster safely?
Engine upgrades can be performed safely when you prioritize supporting systems first. Upgrading beyond stock only makes sense if you have maxed out traction and braking capabilities. Installing a more powerful engine on a bike with inadequate brakes and worn tires creates a dangerous imbalance between acceleration and control. Upgrade your brake system to hydraulic disc brakes, install quality performance tires, and verify your frame can handle increased stress before adding engine power. Beginner riders should focus on developing skills with stock power rather than chasing speed they cannot safely manage. Following proper procedures from our mini bike maintenance steps ensures modifications enhance rather than compromise safety.