




A rebuild’s job is simple to state and hard to execute: restore internal engine integrity to factory tolerances while keeping the original ECU, sensors, and mounts intact. That second part is what a lot of guides skip past, and it’s the reason so many riders choose to rebuild instead of swap. When compression comes back into the 120 to 160 psi range most factory service manuals target, oil consumption drops, and every clearance gets checked against OEM specs, you’ve got an engine that behaves exactly like it did on day one, wired the same way it always was.
Here’s what a properly executed rebuild delivers:
- Restored compression and cylinder sealing verified against factory specs
- Lower oil consumption from fresh rings, seals, and bearings
- Documented clearances and machining records for every measured component
- Zero rewiring or reprogramming, since the original ECU stays matched to the engine
Pro Tip: Keep every compression and leak-down number you record before teardown. Gokartsusa’s parts team hears “it just stopped running right” constantly, and a baseline reading from before you started turning wrenches is worth more than any guess after the fact.
Key Takeaways
A rebuild’s core value is restoring factory-spec engine performance while keeping the original ECU and wiring intact, something a straight engine swap can’t guarantee.
| Point | Details |
|---|---|
| Diagnose before you decide | Use compression and leak-down tests, not symptoms alone, to choose rebuild vs. replace. |
| ECU compatibility is the hidden advantage | Rebuilding avoids sensor mismatches and reprogramming that engine swaps often cause. |
| Machining triggers are measurable | Bore taper, crank journal wear, and head warpage beyond spec dictate machine shop work. |
| Budget realistically | Expect $2,500 to $4,000 and several weeks to months for a full DIY rebuild. |
| Source parts before teardown | Gokartsusa stocks pistons, rings, seals, and crankshafts sized for common powersports platforms. |
Table of Contents
- When Should You Rebuild Instead of Replace the Engine?
- What Happens During a Full Engine Rebuild?
- Which Parts Get Replaced, and When Does Machining Become Necessary?
- Does Rebuilding Really Keep Your ECU and Wiring Compatible?
- How Do You Stop a Rebuild From Failing Again?
- What Tools and Skills Does a DIY Rebuild Require?
- How Long Does a Rebuild Take and What Does It Cost?
- What Assembly and Break-In Steps Protect the Rebuild?
- Get the Parts Your Rebuild Actually Needs
- Frequently Asked Questions
- Sources
When Should You Rebuild Instead of Replace the Engine?
The decision starts with numbers, not gut feeling. A properly planned rebuild restores performance and cuts oil use, but only if you find and fix the failure’s actual cause before reassembly. Skip that step and you’re rebuilding the same problem back into the engine.
Cost matters too. Rebuilding tends to run more affordable than dropping in a new engine, and it opens the door to customization you can’t get from a crate motor, though the work is labor intensive and can turn up surprises once you’re inside the block.
Lean toward rebuilding when:
- Diagnostics point to wear, not catastrophic failure (spun bearing, cracked case, bent rod through the block)
- You want to preserve original ECU mapping, chassis fitment, and engine mounting points
- Reusing serviceable components appeals to you as a lower waste option
Lean toward replacement when the block is cracked, the case is split beyond repair, or a machine shop quote exceeds what a comparable replacement engine costs.
Pro Tip: Run compression and leak-down tests before you decide anything. Guessing from symptoms alone sends a lot of good engines to the scrap pile that could have been saved for a fraction of replacement cost.
What Happens During a Full Engine Rebuild?
A full rebuild works from the outside in, and every phase exists to answer one question: is this part within factory spec, or does it need machining or replacement? The process runs injector to pan, meaning nothing gets skipped once you’re committed.
- Verify before you touch anything. Compression, leak-down, and an oil analysis (if available) confirm where the failure lives.
- Pull the engine if needed, then disassemble in a controlled, labeled sequence so every bolt and bearing shell goes back where it came from.
- Clean and inspect with nondestructive methods like magnaflux crack detection and pressure testing the block and head.
- Measure everything with micrometers and dial bore gauges. Visual inspection alone misses ovality, taper, and journal wear that eyeballing can’t catch.
- Send parts to the machine shop for boring, honing, crank grinding, or head surfacing, based on what the measurements show.
- Reassemble to OEM clearances and torque specs, using new gaskets, seals, and bearings throughout.
- Run pre-start checks: prime the oil system, recheck torque, confirm no leaks under pressure.
A top-end rebuild focuses on the head, valves, and springs; a bottom-end job covers pistons, rings, and crank work; a full rebuild covers both when measurements justify it.
Pro Tip: Bag and tag fasteners by assembly stage, not just by location. A shoebox of “engine bolts” is how weekend projects turn into month-long ones.
Which Parts Get Replaced, and When Does Machining Become Necessary?
Every rebuild replaces a predictable set of wear items regardless of how the engine measures out. Piston rings, bearings, gaskets, seals, oil pump internals, timing components, and valve seals and springs are consumables. They wear on a schedule, so they get replaced on principle, not just when they fail. Major components like pistons, connecting rods, the crankshaft, and camshafts only get swapped when measurements exceed factory tolerance, not automatically.
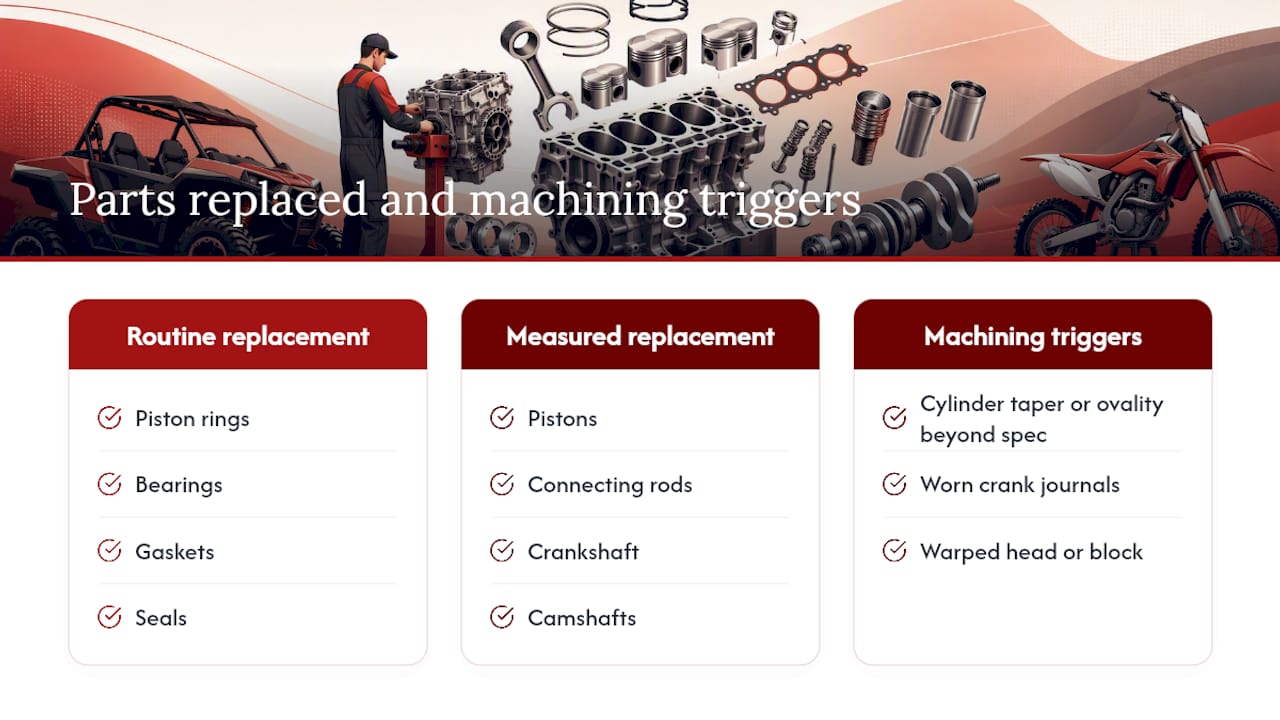
Cylinder taper or ovality beyond spec, worn crank journals, and a warped head or block are the three triggers that turn a parts swap into a machine shop job. Gokartsusa stocks replacement pistons, crankshafts, and bearing kits for exactly these situations.
Does Rebuilding Really Keep Your ECU and Wiring Compatible?
Yes, and this is the advantage swap shops don’t advertise. A rebuilt engine keeps the same ECU, sensors, and mounting points it always had, so there’s no reprogramming, no wiring harness surgery, and no guesswork about whether the electronics will talk to each other. Drop in a different engine, even a similar one, and you’re rolling the dice on:
- Sensor pinouts that don’t match between engine generations
- Different sensor calibration tables that throw the fuel or ignition map off
- Immobilizer, anti-theft, or CAN-bus mismatches that leave the vehicle unable to start at all
Before committing to a swap over a rebuild, confirm the donor engine’s sensor harness connectors match pin-for-pin, check that the ECU firmware version supports the swap engine’s calibration data, and verify immobilizer compatibility if your vehicle uses one. If any of those checks come back uncertain, rebuilding the original engine sidesteps the entire problem.
How Do You Stop a Rebuild From Failing Again?
Most repeat failures trace back to something outside the engine that never got fixed. A rebuild can be flawless internally and still die in weeks if the root cause was never addressed.
Work through this checklist before you call the job done:
- Compression and leak-down retest after assembly to confirm the rebuild itself is sound
- Oil analysis to catch contamination, wrong viscosity, or early wear metals
- Coolant and oil cross-contamination check, since a failing head gasket often masquerades as an oil problem
- Filter inspection for metal or debris that hints at upstream trouble
Faulty oil pumps, a stuck thermostat, a clogged cooling system, a bad PCV valve, or an ignition or ECU fault can all kill a rebuilt engine that had nothing wrong with its internals. One overlooked issue: a marginal oil passage blockage or a slightly weak oil pump often survives a casual inspection and quietly re-fails the rebuild within days of the first startup.
Document every repair and every machining number. If the engine does act up again, that paper trail tells you whether it’s a new problem or an old one that got missed.
What Tools and Skills Does a DIY Rebuild Require?
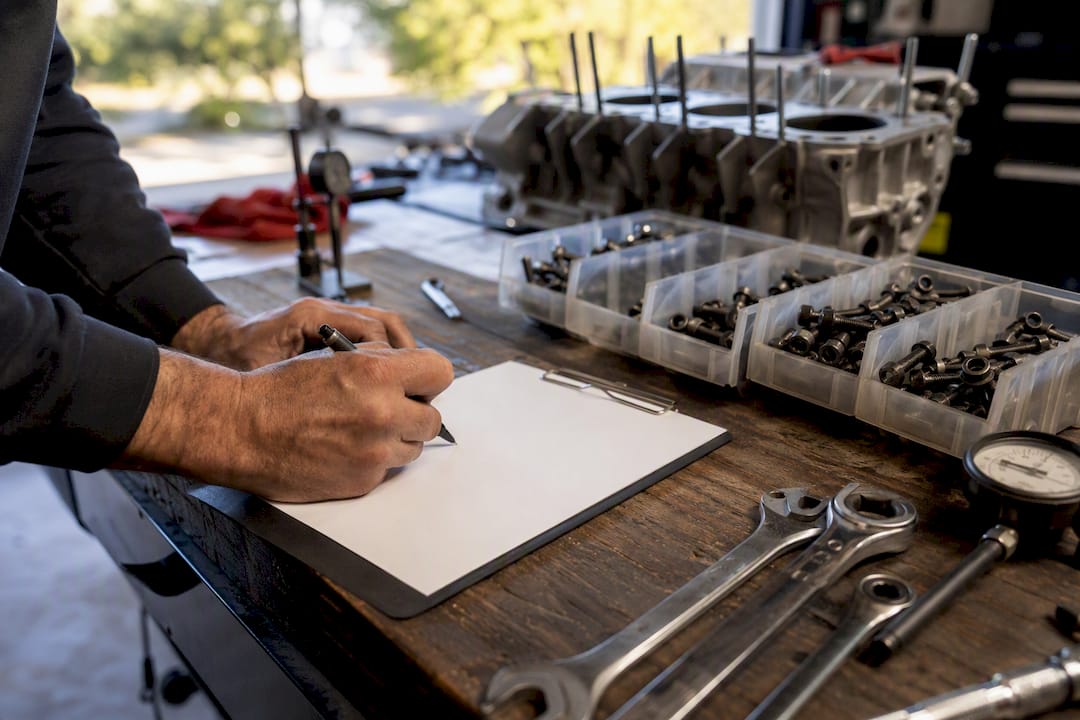
A basic rebuild is within reach for a patient DIYer with the right tools and a healthy respect for what belongs at the machine shop. The line between the two isn’t about skill so much as equipment.
Essential DIY tools include an engine hoist, a torque wrench calibrated to your factory service manual specs, a micrometer, a dial bore gauge, feeler gauges, a hydraulic press, and assembly lube for startup protection.
Machine-shop-only operations include:
- Boring and honing cylinders to correct taper or ovality
- Crank grinding and polishing when journals are undersized
- Head surfacing to correct warpage
- Pressure testing the block and head for hidden cracks
For parts planning, decide upfront between an OEM overhaul kit or selective aftermarket upgrades on wear items. Gokartsusa’s aftermarket parts guide walks through where upgrades make sense versus where OEM fitment matters more than a performance claim. Order pistons, rings, and crank kits early. DIY rebuilders routinely underestimate how long specialty parts take to arrive, and a lead time surprise mid-teardown stalls the whole project.
How Long Does a Rebuild Take and What Does It Cost?
Timelines swing wildly depending on scope. A top-end job on a small-displacement engine is genuinely weekend-friendly for someone with basic tools. A full rebuild, including machine shop turnaround, commonly stretches across several weeks to a few months for a DIYer working evenings and weekends.
Cost drivers, in rough order of impact:
- Parts (gaskets, bearings, rings, seals, and any major component replacement)
- Machine shop labor for boring, grinding, or surfacing
- Unforeseen machining once measurements come back worse than expected
- Diagnostic work to confirm root cause before you start
Ballpark rebuild costs land around $2,500 to $4,000 depending on parts quality and how much machining the block needs. Once quotes start closing in on that range for parts and labor alone, a replacement or crate engine deserves a serious look.
What Assembly and Break-In Steps Protect the Rebuild?
Assembly discipline is where careful teardown work either pays off or gets undone. Torque every fastener to the factory service manual spec, in the sequence it specifies, and use a feeler gauge to confirm clearances rather than trusting a part that “looks right.” Precision metrology at this stage, not just at teardown, is what separates a rebuild that lasts from one that doesn’t.
Before first start:
- Prime the oiling system so bearings get lubrication before the crank ever turns
- Recheck critical torque values after the first heat cycle
- Run a leak and pressure test to confirm no seepage under load
For break-in, most factory guidance calls for a first hour of varied load without prolonged idling, followed by a compression retest and an oil analysis at the first service interval. That combination confirms the rings have seated and nothing is contaminating the oil early. A properly executed rebuild isn’t a quick fix. It’s methodical testing and disciplined assembly that determines whether it lasts one season or many.
A Parts Provider’s View on What Separates a Good Rebuild From a Repeat Failure
The rebuilds that come back to haunt riders almost always skip the measuring step, not the wrenching step. People trust their eyes over a dial bore gauge, and that’s where trouble starts.
Pro Tip: Keep a simple log of every torque spec and machining measurement you use. Six months from now, when something sounds off, that log tells you exactly where to look first.
Get the Parts Your Rebuild Actually Needs
A machine shop can true up your bore and grind your crank, but sourcing the right pistons, rings, bearings, and seals still comes down to finding parts that actually fit your engine, not a close guess. Gokartsusa carries overhaul essentials built for the small and mid-displacement engines that power go-karts, mini bikes, and ATVs, including piston rings, crankcase oil seals, and transmission bearing and seal kits sized for GY6 and comparable platforms.

If your rebuild turns up damage beyond what machining can fix, or you’d rather start fresh on a reliable platform, Gokartsusa’s 110cc mini ATV and gas mini bike lines give you a factory-fresh engine with full parts support behind it. Browse the parts catalog before you order your next overhaul kit, and get exactly what your teardown measurements say you need.
Frequently Asked Questions
What is the main role of the engine rebuild process? The role of the engine rebuild process is to restore internal components to factory tolerances, verify compression and clearances, and preserve compatibility with the original ECU and electrical system.
How do I know if my engine needs a rebuild instead of a replacement? Run a compression and leak-down test first. Leak-down above 20% combined with weak compression points to internal wear that a rebuild can fix, while cracked blocks or split cases usually favor replacement.
Can I rebuild an engine myself, or do I need a machine shop? Teardown, measurement, and reassembly are DIY-friendly with the right tools. Boring, honing, crank grinding, and head surfacing require machine shop equipment.
Why does rebuilding preserve ECU compatibility better than an engine swap? The original engine keeps its matched sensors, wiring, and mounting points, so there’s no reprogramming or pinout mismatch to troubleshoot, unlike swapping in a different engine.
What causes a rebuilt engine to fail again quickly? Unaddressed external issues, like a failing oil pump, a bad thermostat, or an ECU mapping fault, are common culprits. Fix the root cause before reassembly, not just the internal wear.
Sources
- What Is an Engine Rebuild and When Is It Required?
- What Are the Benefits of Having an Engine Rebuilt Instead of Replaced? | YourMechanic Advice
- Engine Rebuild Guide: When, Why, and What to Expect - Today News
- Is an engine rebuild a good option? Pros and cons | Meineke
- Carparts